|
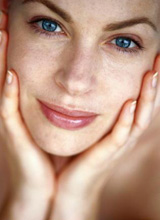
NOTE THIS TUTORIAL WORKS ON ANY WOMAN OR PHOTO JUST MAKE SURE WHEN U SET THE HUE/SATURATION YOU MAKE IT THE SAME BLUE COLOR I DID IN THIS TUTORIAL. 1)First save the above onto your computer and open it in Photoshop. Apply
Hue/Saturation to woman layer with these settings: 2) Next, Duplicate the only layer you have and apply filter-blur-Gaussian blur with these settings: Radius: 1.5 Set this layer to overlay 3) Layer-Merge down 4) Again duplicate the 1 layer you should have and go to filter-blur-motion blur and apply these settings: Angle:
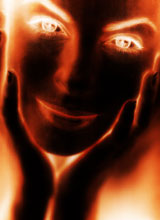
90 5) Layer-merge down. Your
Image should look like this:
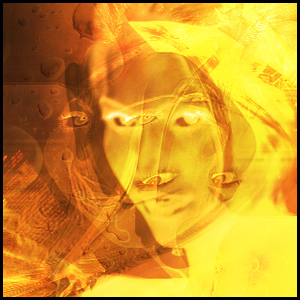
7) Press D. Now set your foreground color to 000099 and background to white. Create a new layer and with your new colors apply filter-render-clouds. Set the blending mode to overlay and change the opacity on this layer to 56% 8) Create a new layer again and fill it with white. Now, set the mode on this layer to difference. Looking better eh? 9) Last but not least duplicate your original woman. Move this layer to 2nd from the bottom right under the white layer and set the blending mode to Darken
|
|||||