|
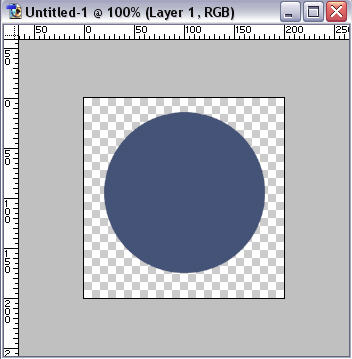
Glass orb tutorial -Create a new document 200x200. Transparent background
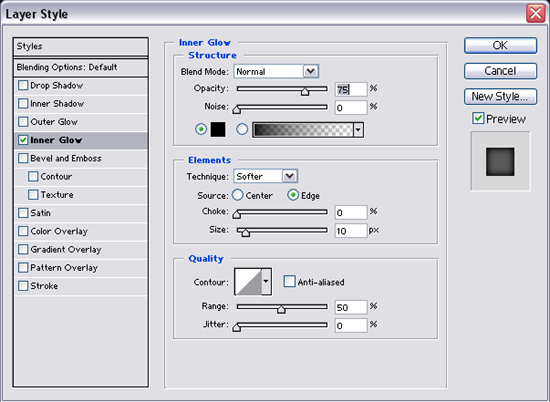
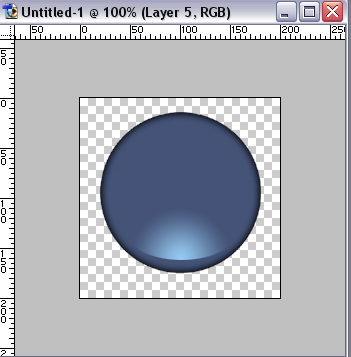
-Right click on your “Main” layer and go to blending
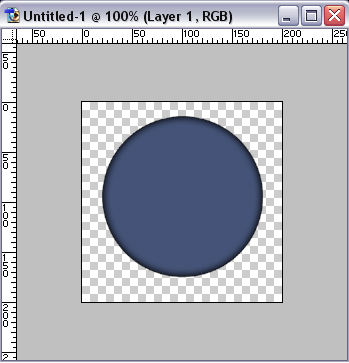
options. Check the “Inner glow” box and apply these settings. My image now looks like this
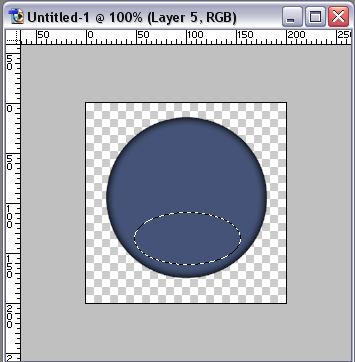
-Select your elliptical marquee tool, like earlier and select
an area like below by clicking and dragging. It may take a few
tries
for you to get it to fit the circle like so. If you don’t get
it the first time, press ctrl+d to deselect and try again. -Set your foreground color to a light blue. I used #99CCFF. Select
your gradient tool INSERT GRADIENT TOOL IMAGE HERE and apply these
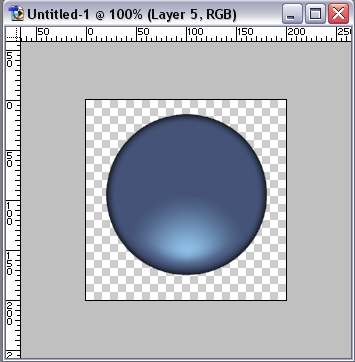
settings at the top: -Now, click and drag from the bottom to the top of your selection.
If you did it right, your image will have a blue area at the bottom
like this: -Deselect your selection. -Now, to smooth out the bottom of your glow so it
doesn’t look so ‘perfect’ select your eraser
tool with these settings: -Erase
(still on your glow layer) across the bottom of your glow very
lightly until
you get a smoother edge like below. If you messed
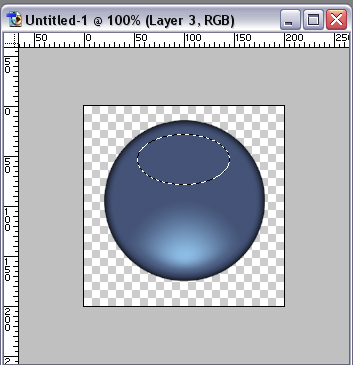
up and erased to much, just go edit>step backward and try again. -Next create a new layer and call it “Reflection” -Again select your marquee tool, and select and area like you did
before but this time on the top. Example in the image below. -Set your forground color to white, and select your gradient tool
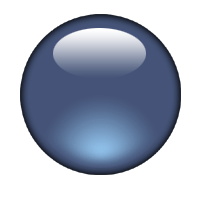
again. Apply these settings at the top this time: -Now, with drag from the top of your selection to the bottom this
time. Press ctrl+d and there you have it, and completed orb!
|
||