|
| |
 Printable
Version Printable
Version
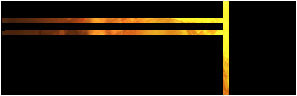
Hello. In this tutorial you will learn how to cut out parts of an image and
make them transparent as seen in the image below.
Lets get started.
First open the image you want to add this effect to. ( I used an image i made
for our thermal image
tutorial. Check it out if you dont have a background yet ) .Merge all of
the layers into one and name it "Background."
First select your rectangular marquee tool. 
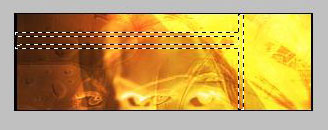
Now, drag this tool across your image to make box like selections. To add more
than one selection, hold the shift key. My selection looks like below. *I
provided two images. One with the selection in photoshop. The second one is
the same selection but I filled it with black to make it a little easier to
see.*

Now, once you have a selection you like, press Ctrl+Shift+I. This will inverse
your selection. Mine now looks like below.
Now press your delete key. It should make the selected area transparent.
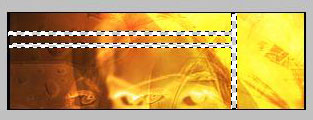
Now we will add a stroke. Do not deselect yet. With your selection,
go Edit>stroke and use these settings.
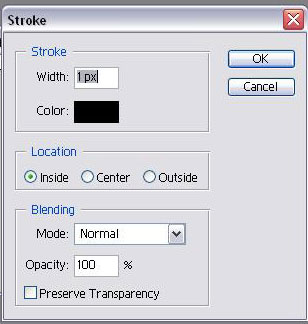
*NOTE: I used white because I knew it was going to be used on this black background*
Here is
the most important step. When you are saving a transparent
image like this, you must save it as a .gif. If you do not and
you save it as any other image file, the transparent parts will
turn automatically white. So, go file<save for web and use these
settings. When you use it now, all the areas you deleted will be
transparent
Hope you enjoyed this tutorial. If you wish, check out our forum and get more
involved with Adroit Dezigns!
|
|
|